

I remember my first attempt at dip powder—it looked more like I had glued colored sand to my fingers than a professional manicure. I spent two hours scrubbing at lumps and crying over lifting edges, feeling like I had completely wasted my money.
To use a dip nails at home for beginners, you must thoroughly prep the nail plate, apply a base coat, dip your nails into the powder, activate the layer with liquid, and seal everything with a top coat. Following these steps carefully prevents lifting and ensures a smooth, salon-quality finish.
When I first tried it, I failed—so how do you choose the best dip nail kit for beginners?
Choosing the right starter set is the most critical decision for a beginner because low-quality ingredients lead to immediate frustration, uneven textures, and premature lifting. When you are just starting out, your kit isn’t just a box of supplies; it is your entire education in the dip powder method.
What should be inside an easy dip nail kit?
An easy-to-use kit should contain a specific set of chemicals and powders that work in harmony to create a hard, durable shell. If you are missing even one component, the entire system fails. According to industry standards for DIY nail systems, a complete set must include these four essentials:
- The Base Coat: This acts as the “glue” that allows the powder to adhere to your natural nail.
- The Activator: A liquid that hardens the powder once it has been applied.
- The Dip Powder: The colored pigment that provides both strength and aesthetics.
- The Top Coat: A clear sealant that provides that high-shine, glass-like finish.
Beyond the basics, I highly recommend looking for kits that offer a variety of colors. When you are learning how to use dip nail kit for beginners, you will likely make mistakes. Having a range of shades allows you to practice different techniques without feeling like you’ve wasted a single, expensive color.
There is also a significant difference between professional salon kits and beginner-friendly sets. Professional kits often come in larger, bulkier containers and may require more precision. Beginner kits are typically curated with more manageable liquid volumes and finer-grain powders that are more forgiving of “shaky hands.”
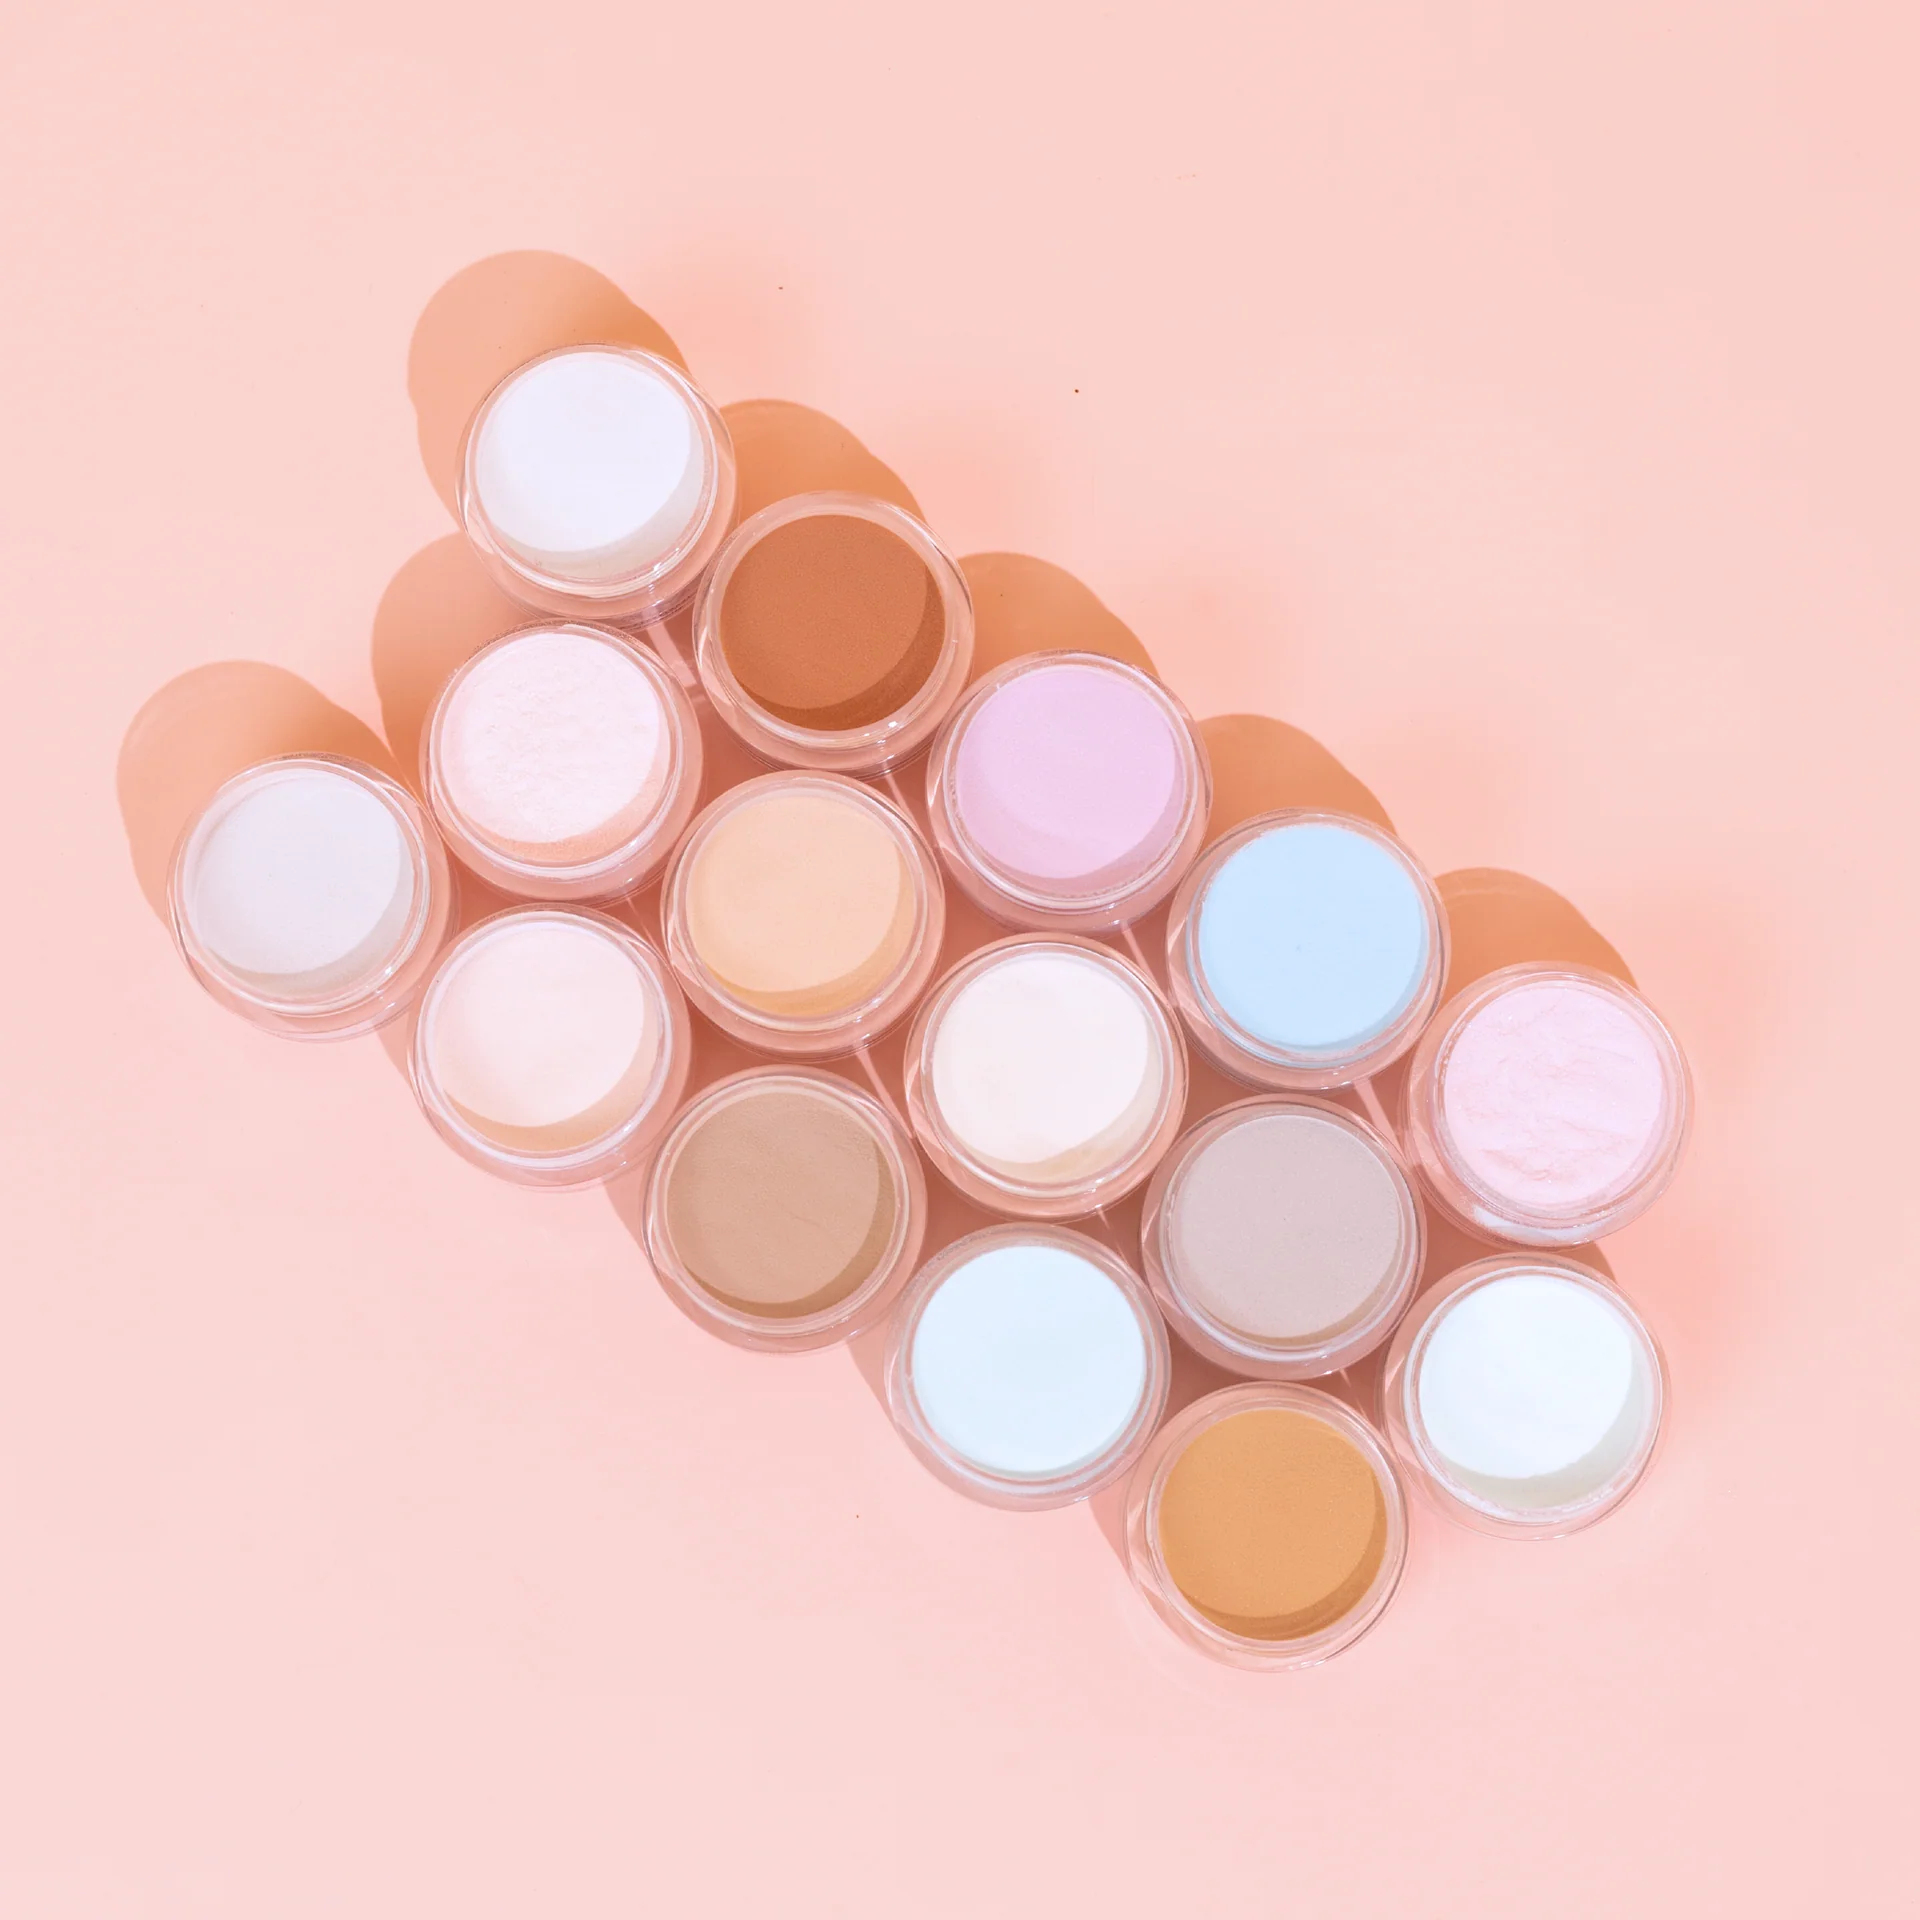
Is a cheap at home dip powder kit actually worth it?
Determining whether a budget kit is worth the investment requires looking past the initial price tag and evaluating the long-term cost of replacement. While a $10 kit might look tempting on a late-night shopping spree, it often leads to a cycle of “buy, fail, repeat” that ends up costing more than a single quality set.
The biggest trap with low-quality powders is the “lifting” phenomenon. Low-grade powders often have larger, inconsistent granules that don’t bond correctly with the base coat. This causes the manicure to peel off in large chunks within days, which can be incredibly frustrating for a newcomer.
Feature Cheap Starter Kit Quality Beginner Kit Powder Texture Gritty, uneven, or clumpy Fine-milled, smooth, and easy to control Longevity 3–5 days before lifting 2–3 weeks of durability Chemical Odor Strong, acrid, or overwhelming Mild and manageable
My personal ‘budget vs. quality’ reality check is simple: if you can afford to spend an extra $15 now, do it. Investing in a slightly higher-tier starter kit saves you money in the long run because the products actually work, and you won’t be constantly replacing ruined supplies.
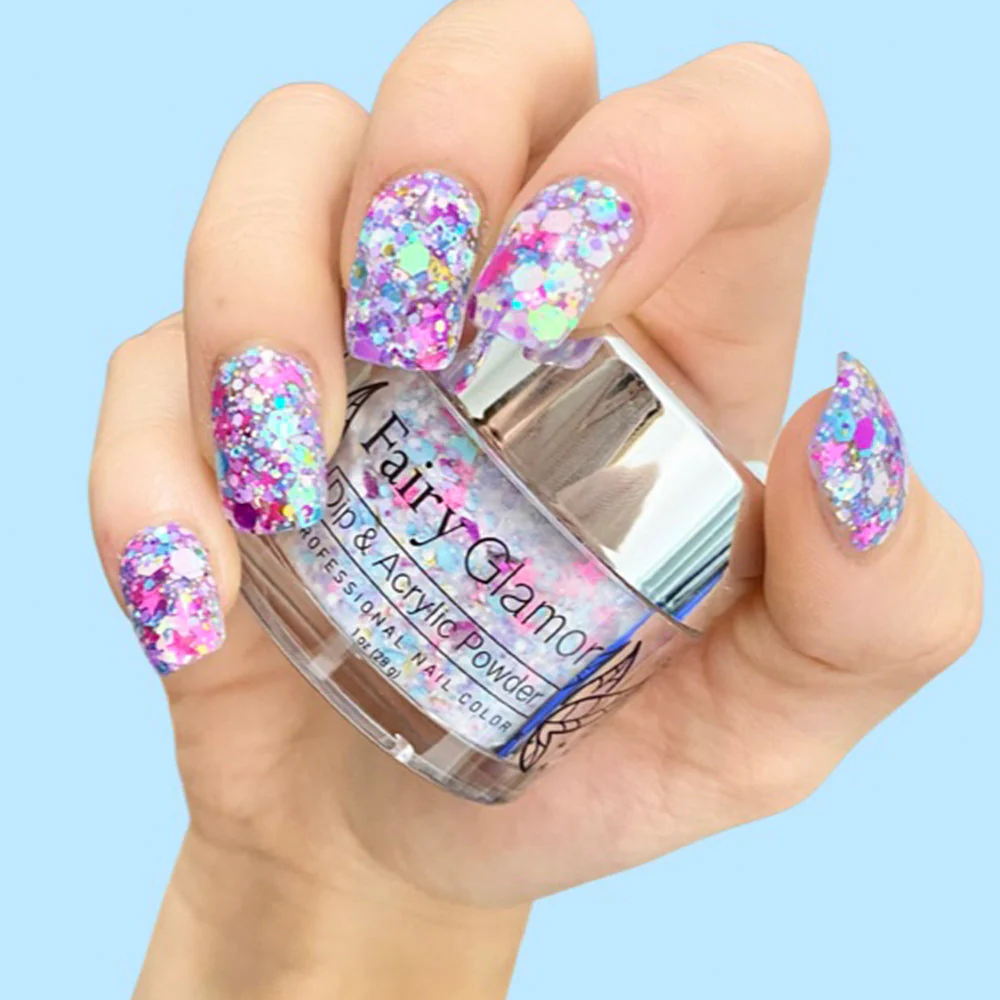
Step-by-Step: How to use a dip nail kit for beginners without the mess
Mastering the application process requires a specific sequence of cleaning, dipping, and sealing to achieve a durable, even layer of color. If you rush through these steps or skip the preparation, you are essentially setting yourself up for a manicure that will chip or lift almost immediately.
Step 1: Prepping your canvas (Don’t skip this!)
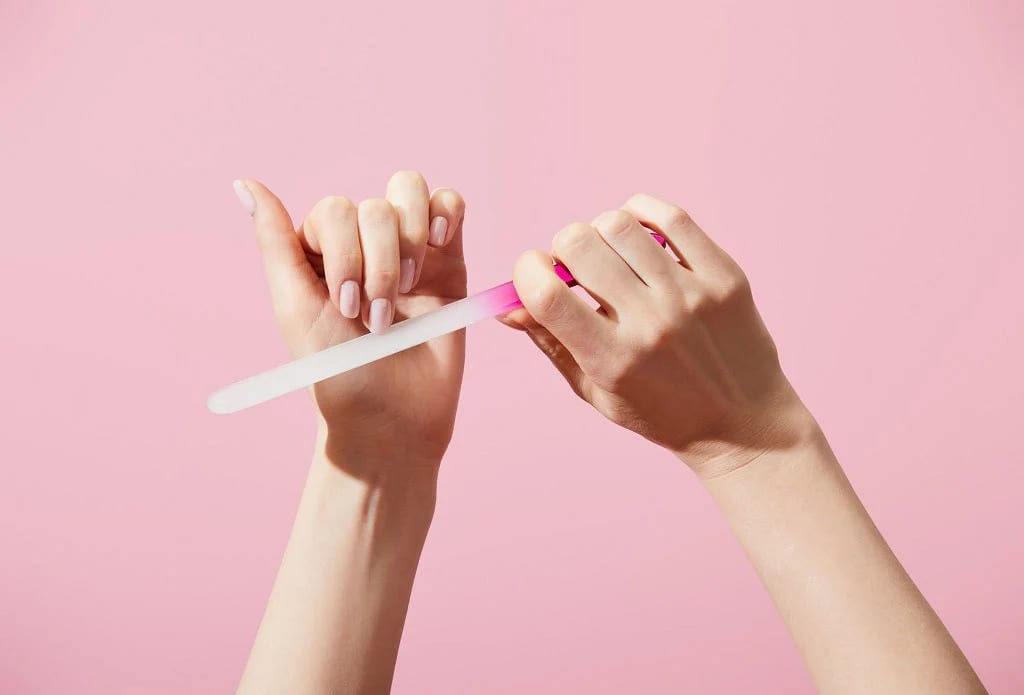
Proper nail preparation is the foundation of any successful manicure, as it ensures the product bonds to the nail rather than sitting loosely on top of oils or skin. I cannot stress this enough: if your prep is lazy, your nails will look messy.
First, you must clean the nail plate thoroughly. Use a lint-free wipe and a bit of alcohol to remove any natural oils or moisture. Second, gently push back your cuticles using a wooden stick or metal pusher. You want to clear the “dead skin” from the nail plate without causing any pain or bleeding. Finally, use a fine-grit buffer to lightly roughen the surface of the nail. This creates a “grip” for the base coat. Don’t over-buff! You just want a smooth, matte surface, not a thin, damaged nail.
Step 2: The dipping process—how to avoid thick, chunky layers
The dipping phase is where most beginners struggle with “cuticle flooding” or creating overly thick, bulbous nails. Learning how to use dip nail kit for beginners effectively means mastering the art of controlled application rather than just dunking your fingers into the jar.
The secret is the ‘Tap and Dip’ technique. Instead of plunging your finger deep into the powder, hold your nail at a slight angle and lightly tap the tip into the powder. This allows the powder to settle naturally without creating massive clumps. Generally, 2 to 3 layers of powder are more than enough. If you find yourself adding a 5th or 6th layer, you are likely applying too much at once, which leads to that “lumpy” look.
Managing the ‘sticky’ phase is also vital. After each dip, you will have excess powder clinging to your skin. Use a soft brush to sweep away the excess before applying the next layer of base coat. If you don’t, you’ll end up with powder trapped in your cuticles, which looks unprofessional and causes lifting.
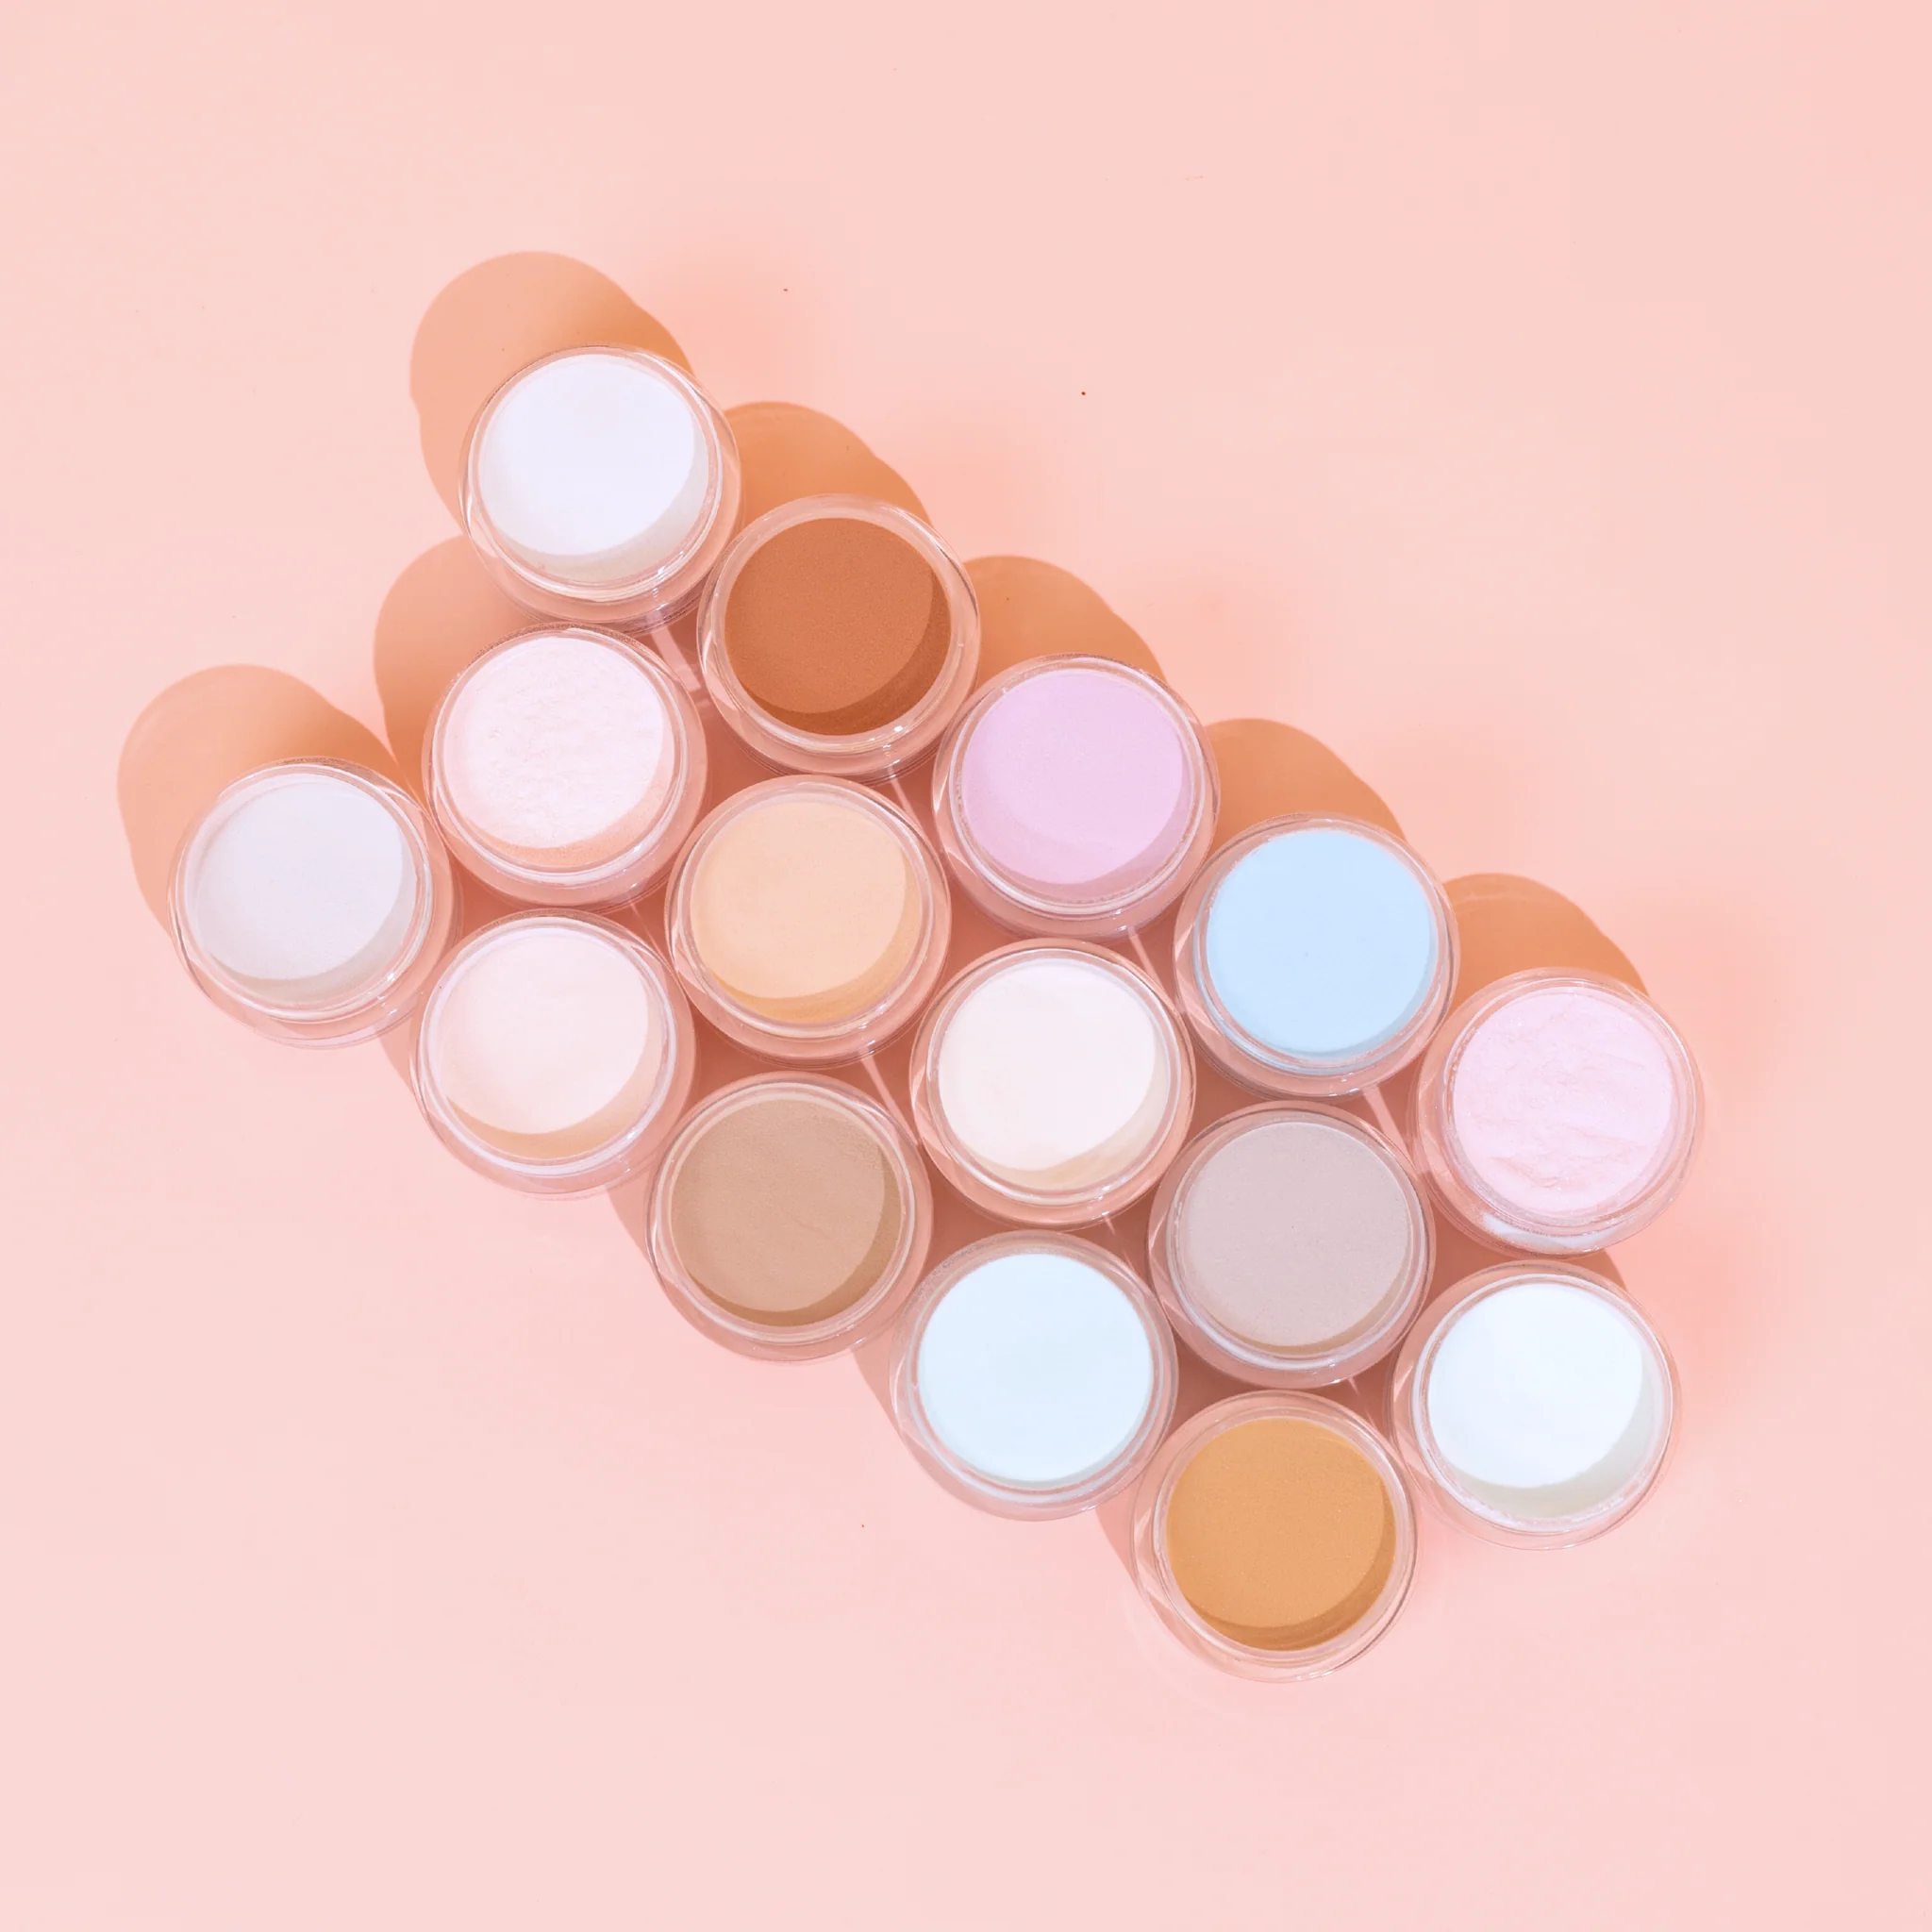
Step 3: Sealing the deal for that salon shine
Sealing the manicure is the final step that transforms a dusty, textured nail into a high-gloss, professional-looking set. This stage requires a steady hand and a clear understanding of how the activator and top coat interact with the powder.
First, apply your activator. This liquid “sets” the powder into a hard plastic-like state. Apply it in thin, even strokes, making sure to cover the entire nail surface. Once the activator has done its job, it is time for the top coat. Apply a generous but controlled layer of top coat to achieve that salon shine. Finally, once everything is completely dry, apply a drop of cuticle oil to the surrounding skin. This hydrates the area and gives your manicure that “finished” look that makes people ask, “Did you go to the salon?”
Wait, why do my nails look lumpy? (Real-talk troubleshooting)
Troubleshooting common issues like lumps or lifting is a natural part of the learning curve when you are first learning how to use dip nail kit for beginners. Even professional nail techs had “lumpy” days when they started, so don’t let a less-than-perfect first attempt discourage you.
My nails are lumpy! Can I fix them after they’ve hardened?
If you finish your manicure and realize it looks like a mountain range, don’t panic—you can absolutely fix it without starting from scratch. You don’t need to soak the nails off; you just need to refine the surface.
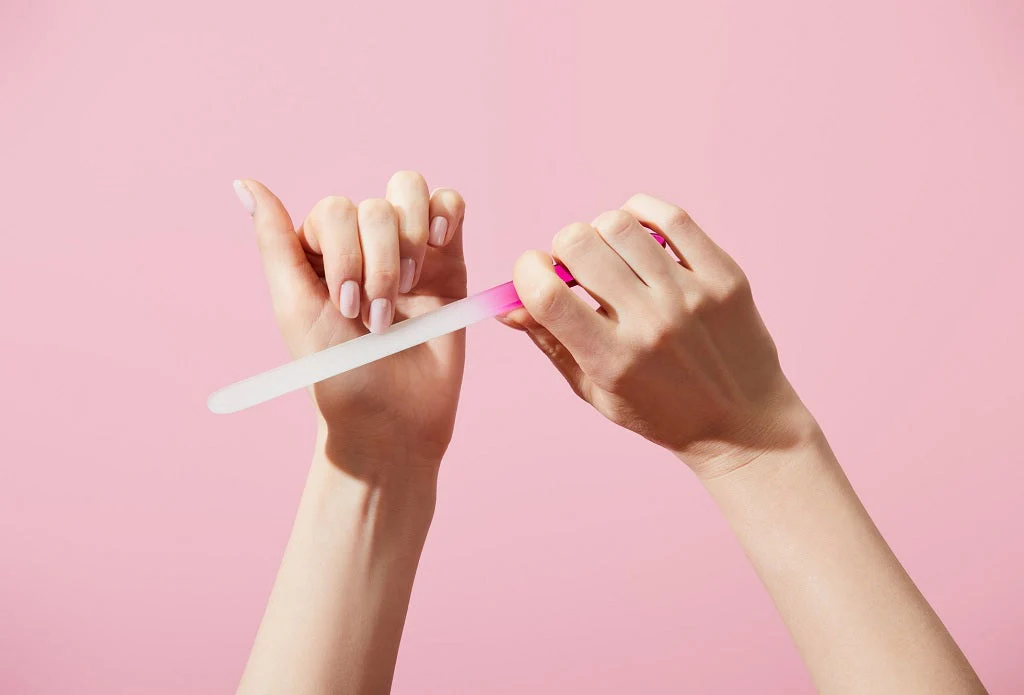
Take a fine-grit buffer (around 180 to 240 grit) and gently buff the surface of the hardened dip powder. This will shave down the high spots and even out the texture. Once the surface is smooth, you can re-apply a very thin layer of base coat and powder to fill in any microscopic divots. If the lumps are extreme, however, it is better to soak them off and start again. It is better to spend an extra hour re-doing it than to live with nails that feel heavy and uneven.
What if I have naturally weak or thin nails?
If you have naturally thin or fragile nails, you must approach the dipping process with extra care to avoid causing damage. Dip powder is significantly stronger than regular polish, which is a benefit, but it can also be taxing on delicate nail beds if applied incorrectly.
I recommend using a strengthening base coat before you even touch the dip system. This adds an extra layer of protection. Most importantly, avoid over-filing during the prep stage. If you file your natural nails too thin in an attempt to prep them, the dip powder will feel much heavier and more uncomfortable. I also suggest implementing a “break week” between manicures to let your natural nails breathe and recover.
How long should my first attempt actually take?
Setting realistic expectations is the best way to manage the “mental preparation” required for your first DIY session. Please do not expect to finish a full set in 20 minutes; that is a recipe for a messy, uneven disaster.
For your first time, expect the process to take anywhere from 45 to 75 minutes. You will be moving slowly, checking your work, and likely re-buffing sections. Rushing leads to “cuticle flooding” and uneven layers. Think of your first attempt as a practice session. Even if it isn’t perfect, you are building the muscle memory required for a flawless, 30-minute application next time.
Frequently Asked Questions about at home dip powder kits
How long do dip powder nails actually last?
A well-applied set of dip powder nails typically lasts between 2 to 3 weeks. The longevity depends heavily on your prep work and how you treat them; avoiding harsh cleaning chemicals and using cuticle oil daily will help prevent premature chipping or lifting.
Is dip powder better than gel or acrylics?
It depends on your needs, but many beginners prefer dip powder because it is more durable than gel and easier to apply than acrylics. It provides a strong, hard finish without the need for a UV/LED lamp, making it a more convenient and budget-friendly option for home use.
Can I remove dip nails at home safely?
Yes, you can remove them safely using the soak-off method with acetone. Soak your nails in acetone for about 15–20 minutes until the product softens, then gently nudge it off. Never, ever peel or scrape the dip off your nails, as this will tear away layers of your natural nail.
Don’t be too hard on yourself if your first attempt isn’t perfect. Nail art is a skill, and like any skill, it takes a bit of practice to master. Keep experimenting, invest in quality tools, and you’ll be achieving salon-quality results in no time!
Read more:
- When you are learning how to use dip nail kit for beginners, you will likely make mistakes.


